Thanks for checking out my blog!
This is the first time I have ever created a blog and I have been reading a lot of DIY blogs out there and was inspired. I created this blog to share with you our home renovation process, to share recipes I've tried, to share DIY projects I would LOVE to try and maybe get some tips and advice on home decor and baking/cooking.
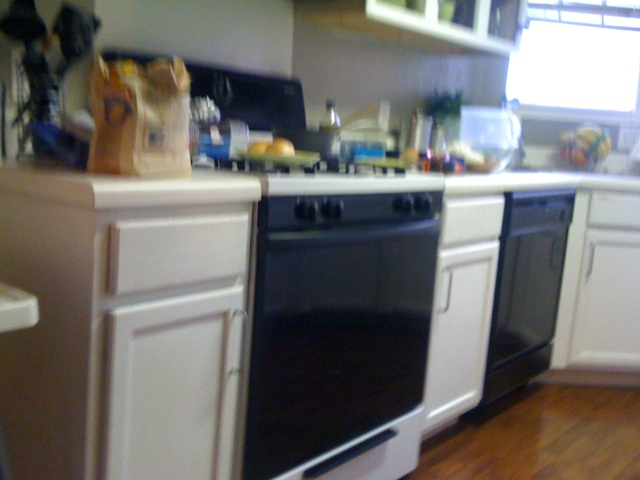
Currently we are working on our kitchen. We purchased our home 6 years ago as a foreclosure and have been working on it ever since. We are no where near being done but would like to share some of the process of our home updates since I love looking at before and after pictures, I thought you would too. So here are some before pictures of our kitchen and these are not really the before pictures since we thought we had already finished remodeling the kitchen when we painted our cabinets white last year.
Our cabinets before had no hardware, they were a pinkish light color (yuck) and the floors were linoleum. In the past couple of years we have changed flooring to laminate, painted cabinets white (forgot to prime and were now chipping) and added hardware to the doors.
Please excuse the mess:
 |
| you can start to see chipping paint here |
 |
| Sink |
 |
| excuse the blurry picture it's the only one I have of this view |
 |
| we had already taken the doors out |
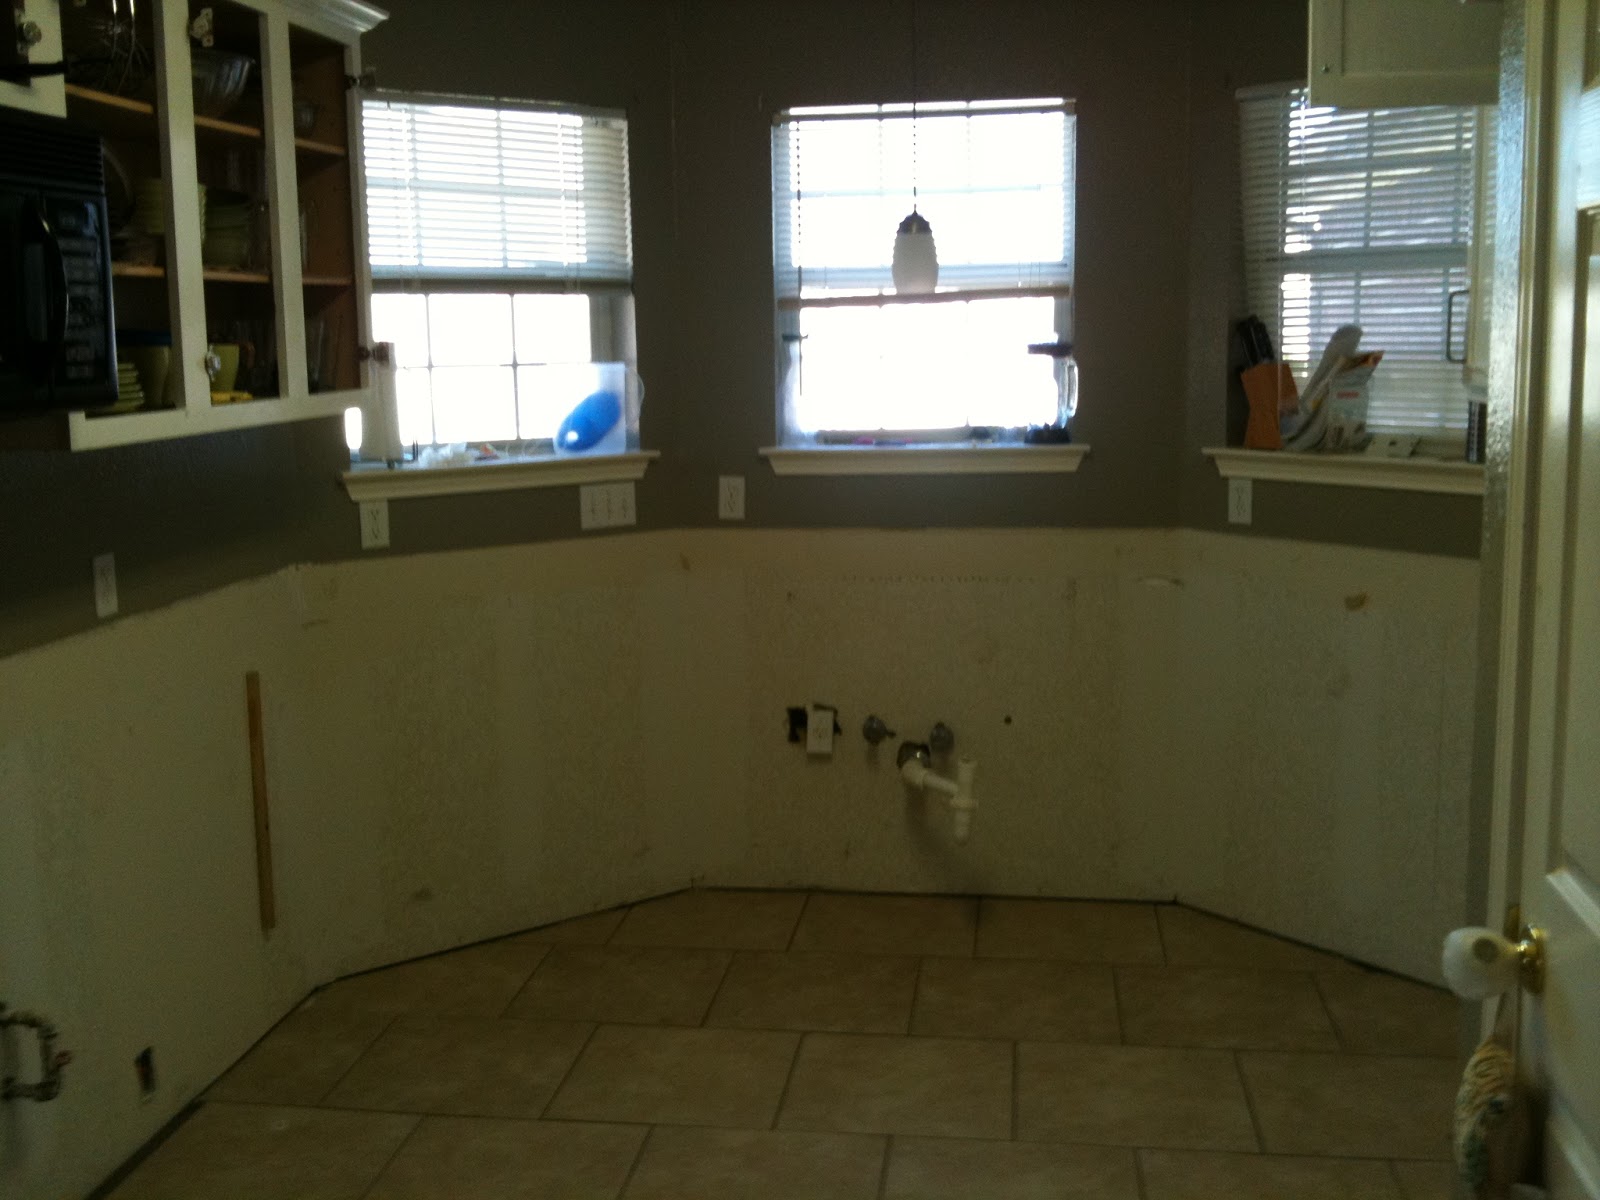
We liked the outcome but our countertops were beginning to inflate because of spilled water and they were white and would stain easily and our laminate flooring was very hard to maintain since we kept spilling water on the floors. So we had tile installed and now this is what our kitchen looks like currently without our base cabinets:
Our kitchen was measured yesterday for our new cabinets and we are so excited! I can't wait to show you all the after pictures! We are thinking of painting our kitchen another color but not sure what.
If you have any suggestions please feel free to leave a comment. Our new kitchen will not be white, it will be a medium-dark brownish color.
Thanks again for checking out my blog!