


If you know me, you know that I don't buy anything if it isn't on sale so I hardly buy myself jewelry because usually a bracelet can be anywhere from $7 to $18 and I just think I can buy myself a shirt or a even a dress with that money! So I don't even end up getting myself anything and almost always come home with a cute little something for my kids that I found on sale.
Which brings me to this tutorial, I decided to play around with tearing up an old t-shirt and coming up with something to use it for. I didn't want to make another rosette so I played around a little bit and thought "well maybe I'll add a nice ruffled collar to one of my shirts?"and then I began braiding a couple pieces and trying it on my wrist and thought it looked cool. So with a couple of tools I already had I came up with this:


A Braided T-Shirt Bracelet
It's not the world's prettiest bracelet but it's comfy!
My bracelet is white and I am using B&W photos
because I took the pics at night and the lighting wasn't all that great
and you can see the details better in B&W.
I will show you how easy it is to make using any of your old tees.
If it's stretchy it will be even better in the end.
You can use any color or pattern shirt you have or maybe
try three different colors!
What you will need:
* one old t-shirt or tee (preferably stretchy fabric)
* glue gun (w/ glue sticks)
* needle & thread in color of your choice
* fabric scissors (or any scissors you have than can cut through fabric)
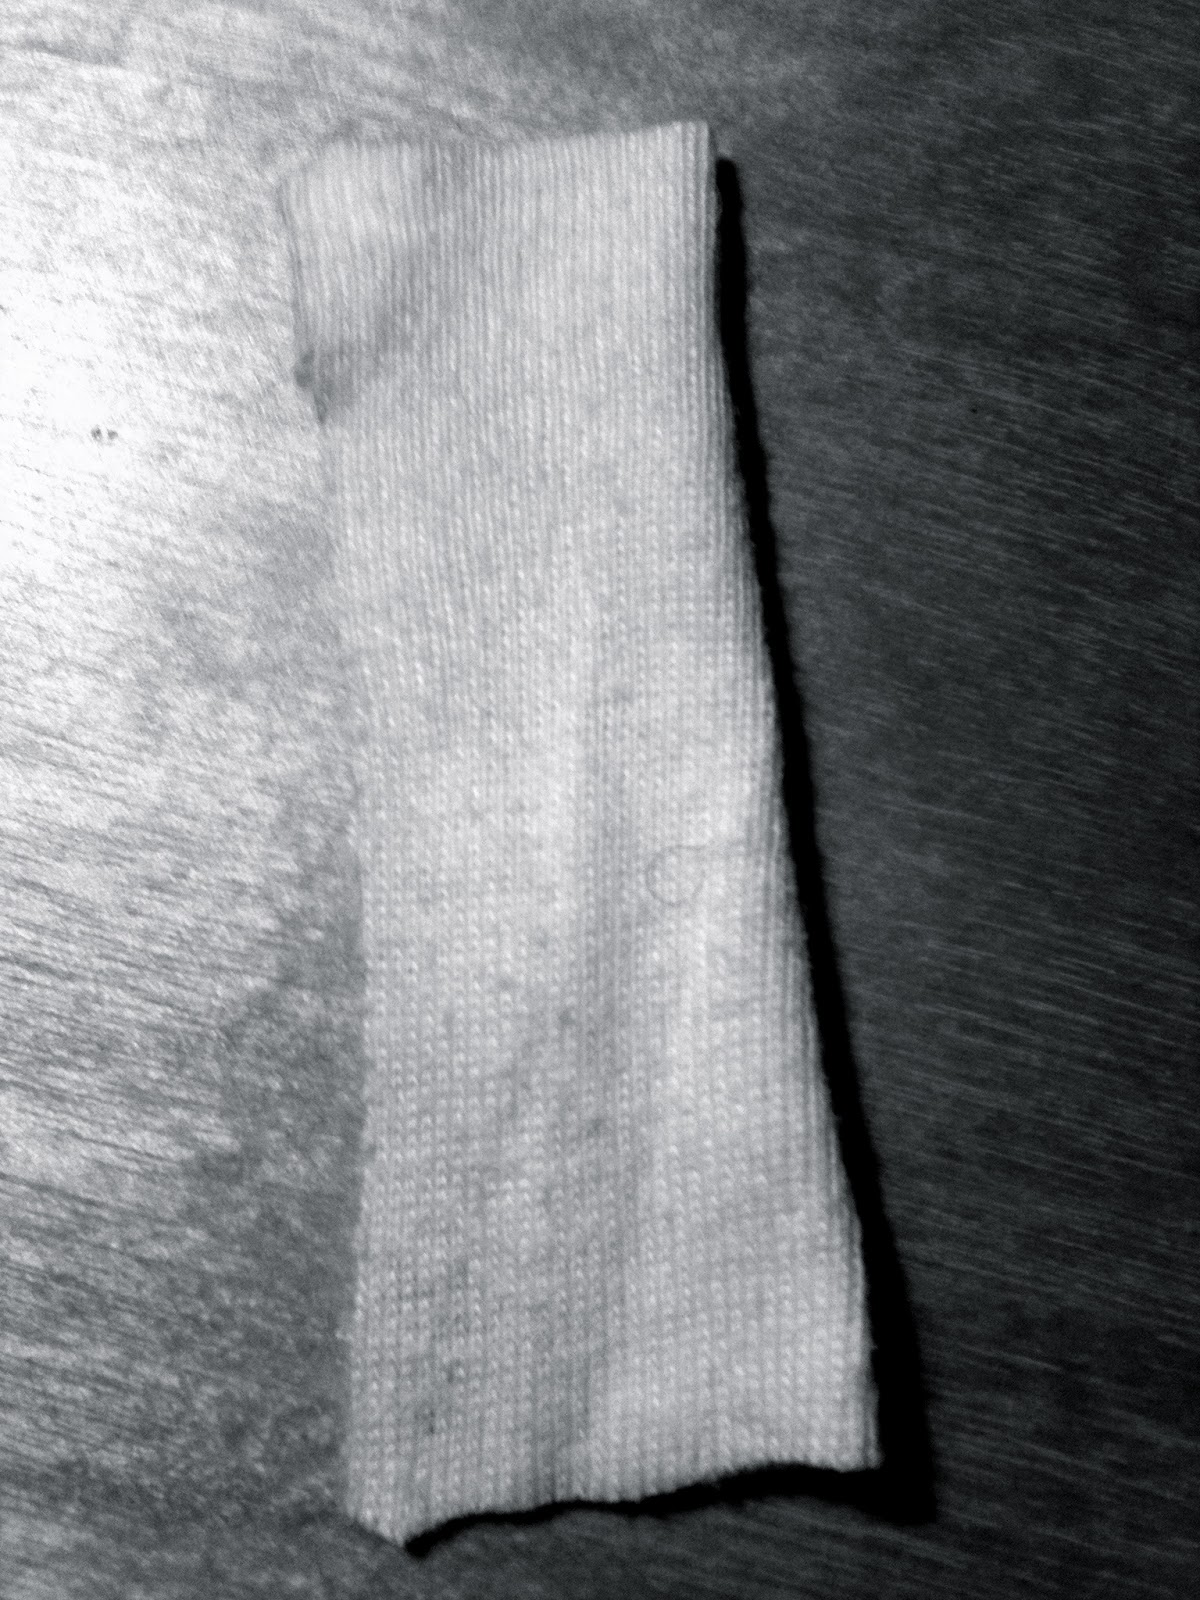
First cut out 3 strips of your shirt about ruler width
and about 18in or more length wise
and about 18in or more length wise

Grab all three of your strips and tie a tight knot at the top like so:

Then begin braiding your bracelet at a curve so that it will curve around your wrist
If you want your braid tight then braid tight or if you want yours a little loose do not
tighten too much as you braid.

When you get towards the end tie a tight knot:

Then cut off the extra fabric coming out of your knots but DO NOT
throw away!! You will need one of these for the last step!

Grab a needle and thread in the color of your choice, mine is white.

Measure the bracelet around your wrist. Pick a place where you want your
bracelet to end and begin sewing it together.

Grab your glue gun and glue your pieces together where you
previously sewed just to make sure they stay together.
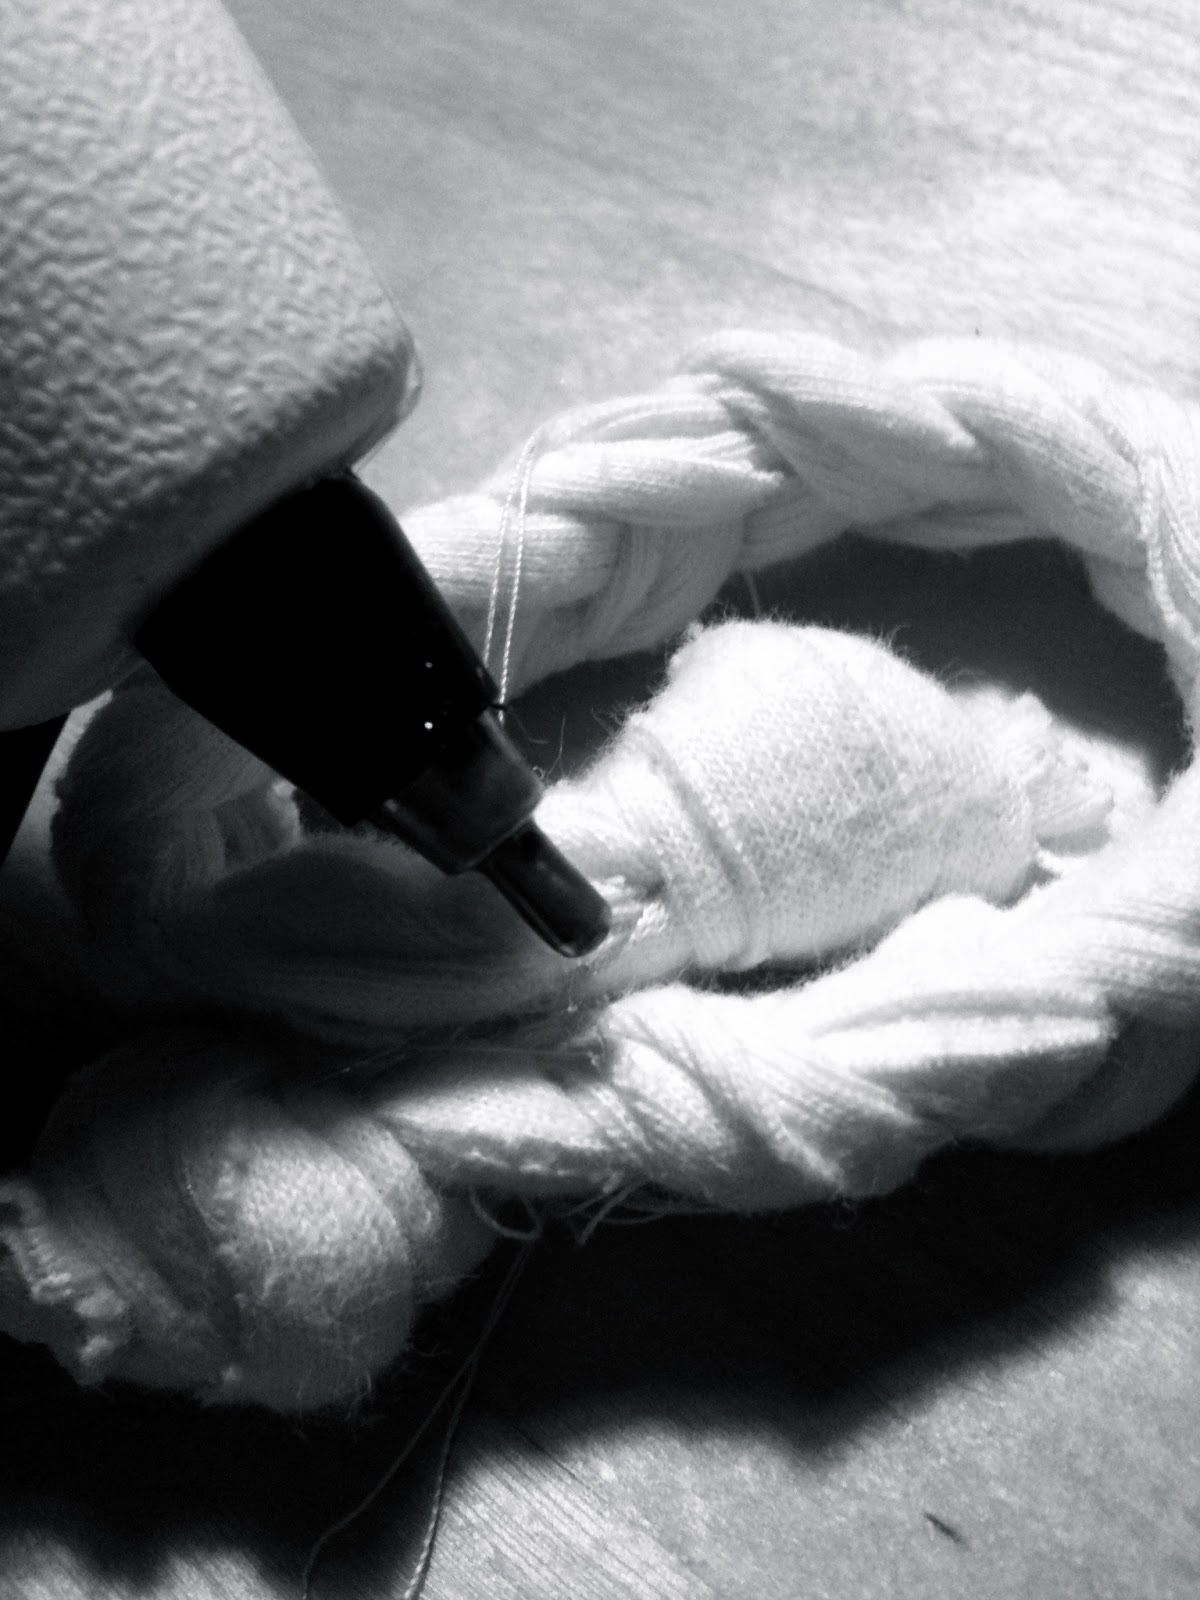
Once your glue dries you can cut off the knots

You end up with a bracelet like this

Now grab one of the pieces we cut off from the beginning
and tie it around the unfinished part and gluing with your glue gun
as you go around to end up with a clean finish like this

Do you like it? I plan on making more with different colors or patterns.

Linking up to these Parties Here


VERY cute and very CLEVER! Wish me luck - I think I'm gonna try it! Thanks for sharing!
ReplyDeleteThat's great! Let me know if you need help with anything!
ReplyDeletecmedrano19 (at) yahoo (dot) com
I would love to see how your bracelet turns out! :)
Very cute!! Thanks for auditioning for OMTWI! Be sure to include the button in your post or sidebar to be eligible!
ReplyDeleteThank You! I just added the button :)
ReplyDeleteSuper cute! Definitely going to try it myself!
ReplyDelete
ReplyDeleteDesign and order your own custom silicone wristbands / rubber bracelets with personalized message and artwork.
Tyvek
wristbands
lol :) its seems horrible but its cool idea :)
ReplyDelete